Simple DIY Waldorf-Inspired Rainbow Mosaic Blocks
Guest post from Sarah Coffey Oleachea:
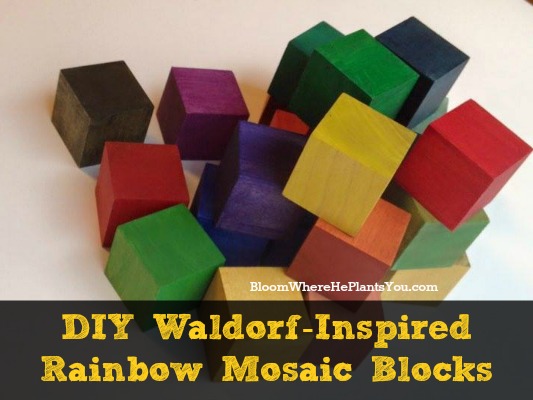
My inspiration for this Waldorf-Inspired project were these wonderful Grimm’s Mosaic Square Wooden Blocks. Beautifully colored natural wood blocks that are a perfect open-ended, imaginative toy that kids can use to create colorful mosaic designs, for building construction, or as a fun learning tool to teach basic math concepts like addition, subtraction, fractions, and physical dimensions (length, width, height). Grimm products are handcrafted in Germany and the price definitely reflects the quality and the craftsmanship of the artisans!
This simple DIY version is so fun and easy to do, even the kiddos can help create!
Materials Needed:
- 1.5″ Natural Unfinished Hardwood Craft Wood Blocks – There are many different sizes of blocks to choose from. A larger set of smaller cubes (just under an inch) would be great for an older child or for classroom use. Or a smaller set of larger cubes would be a fun addition to an existing set of plain wooden blocks.
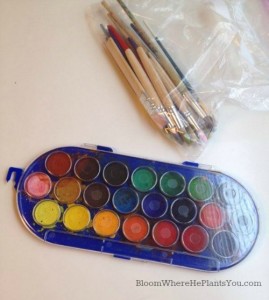
- A good quality palette of Watercolor Cakes
. The more blocks you’ll be painting, the more varied you’ll want the colors to be, so the larger the palette the better. I used this set I found at Hobby Lobby, but any quality set would work.
- Paint brushes – for art, of your preferred size and quality. Mine were very inexpensive from my local craft store and IKEA.
- Topcoat polish – You will want to seal the blocks after the paint has dried. Look for a topcoat that has some variation of the following ingredients – beeswax, lanolin, quality oils. I used a cracked heel cream that I found at Rite Aid! Note: If you are making your blocks for a small child who may put them in his or her mouth, you may desire a high-quality natural wood polish. My project is intended for children ages 5+, so I wanted a natural product but it didn’t have to be food safe.
Steps:
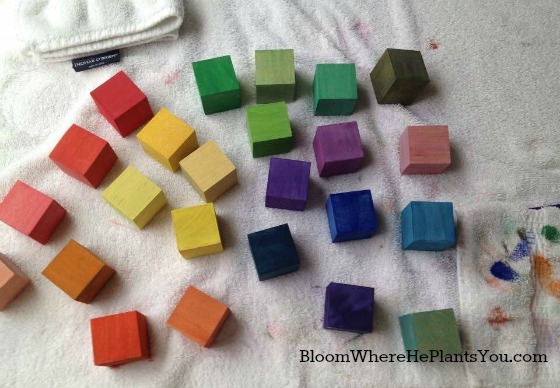
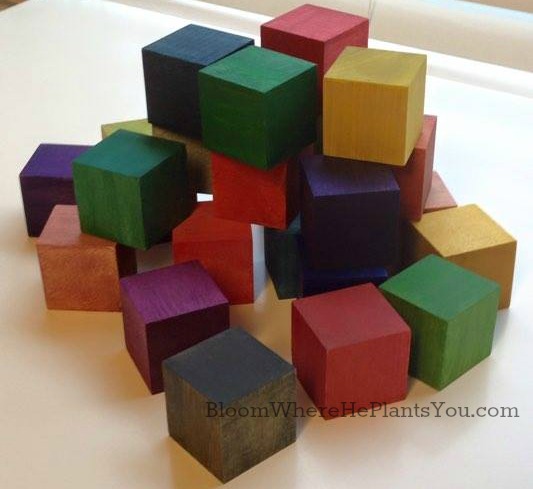
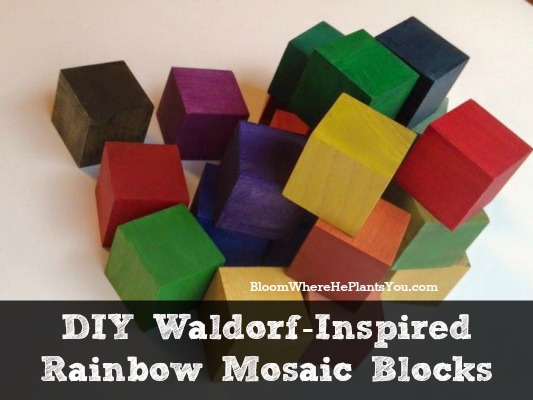
- Choose the color scheme: Decide how many colors you want to use. I did roughly 3-6 cubes of each color group red/orange, yellow/gold, green, blue, pink/violet/purple.
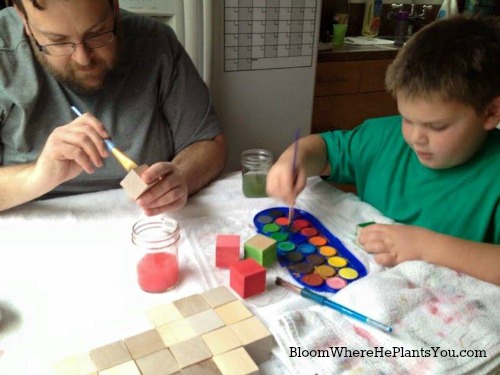
- Paint the cubes: Adding more water to the paints or doing fewer coats allows more of the wood grain to show through. It is important to note that the paint will dry quickly as wood is thirsty. The color may vary on different sides of your blocks based on the grain patterns and the ends of the blocks will soak up lots of paint. The variations only add to the beauty in my opinion. Allow the painted sides to dry a bit before moving on to painting the other sides of the blocks (otherwise, you can hold on to the corner points and paint carefully). If you make a “mistake” during the painting process, just wet your paint brush slightly and go over the block again. Most strokes can be evened out by adding a bit of water and brushing over again.
- Apply the Seal: Allow the blocks to dry thoroughly (usually a couple of hours is more than sufficient). Apply the polish with a cloth that you don’t mind getting paint stained. Rub very small amounts of the polish over the sides of the blocks and then wipe and buff until they are no longer oily to the touch.
If you’d like to see more DIY craft posts, let us know in the comments!
Leave a Reply